Add products by adding codes
Fundamentals of electronics and arduino - Practical course - #1

- Introduction
- Basic electronics technician's workshop
- Current source
- Multimeter
- Contact board and cables
- Essentials: soldering iron, "third hand", magnifying glass, microscope, tools.
In this course, you will do more screwing, soldering, measuring, testing and constructing, rather than reading dry book theory. I will try to convey abstract, theoretical knowledge in such a way that it is "visible as on the hand", explained in what we will do.
Here are what components it is good to equip your electronic workshop with at the very beginning:
1. DC source 5-25V.
Electricity, like everything in this world, is related to the processing, control and distribution of energy, so we need some source of energy this time electricity. In our work, we will use low-voltage - and therefore health-safe - direct current sources with an output voltage of approx. 5-9V. It can be a 9 or 6V battery(fig.1), or whatever power supply (fig.2), whose output voltage is between 5-25V, and whose output current is on the order of a few hundred milliamps.
1.alkaline, zinc-carbon 6F22 battery with a voltage of 9 volts
2. Low-cost universal power supply with adjustable output voltage from 3 to 12 volts.
So that you can easily and solidly connect the battery sockets to the circuit stock up on adapter (fig.3). If you use power supply, too suitable connector. Adapters, connectors, cables, plugs and sockets we will discuss in depth in the next part of the course (after all, we are practitioners).
3. Adapter, socket, clip for 9-volt batteries. The latter we will use to power the arduino board battery
2. Universal meter.
We already have a source of energy, so it would be useful to be able to measure and track the transformation of that energy in systems. This is what the universal meter makes possible.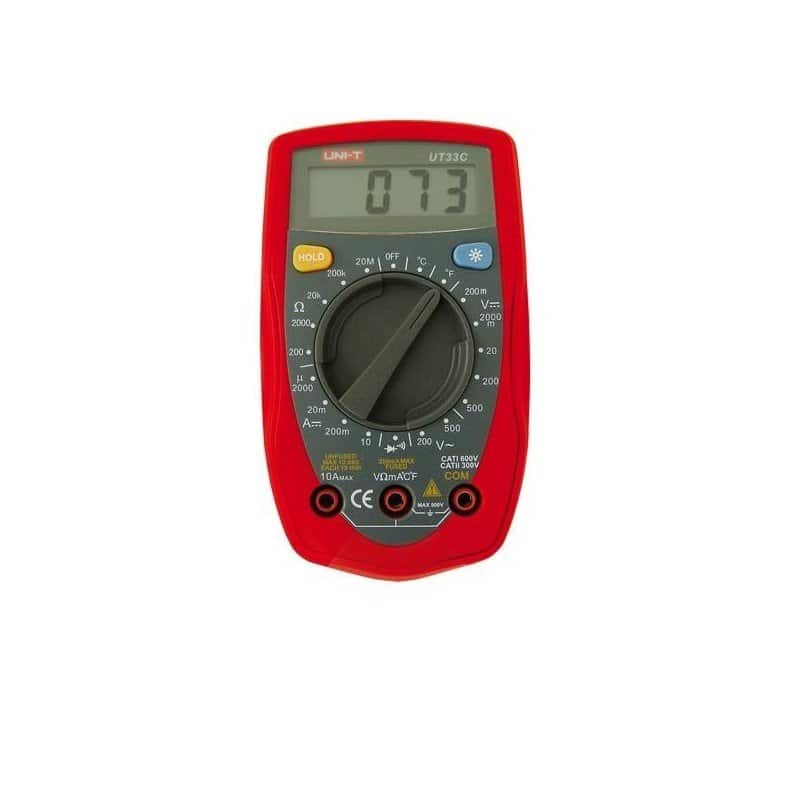
4. UNI-T UT33C Universal Meter - Temperature measurement up to 200°C
Multimeter is a very important tool in the electronics technician's workshop. He usually steps in when something is not right, or when we are experimenting. Most low-cost popular multimeters differ little from each other at first glance, but choosing the first, better meter in the store can be a misguided purchase. On this website you can buy suitable multimeters cheaply. Multimeters allow us to measure such parameters as:
- dc voltage
- aC voltage
- dc current
- element resistance
- efficiency and polarity of semiconductor elements, transistors and diodes.
- circuit continuity (so-called "buzzer")
The better ones, moreover, allow you to measure:
- electrostatic capacitance (uF)
- frequencies
- temperatures
Multimeters are most often powered by with a 6F22 9V battery(fig.1), so if the multimeter does not work, or does not work properly - the first step should be to check the state of the battery.
Do not buy a multimeter that does not have a buzzer, when looking for faulty connections buzzer helps a lot.
If you are wondering what is the accuracy of the measurements made with such a few, several-dozen-dollar meter, I can reassure you that for our applications it is sufficient and is within 1-2%.
Multimeter with temperature sensor will come in handy when you create circuits in which large currents flow and, for example, you need to measure how much, a high-power transistor heats up. High component temperature is our enemy, it promotes component aging and can cause unstable system operation. Such a meter is available, for example. here.
3. Contact plate and wires.
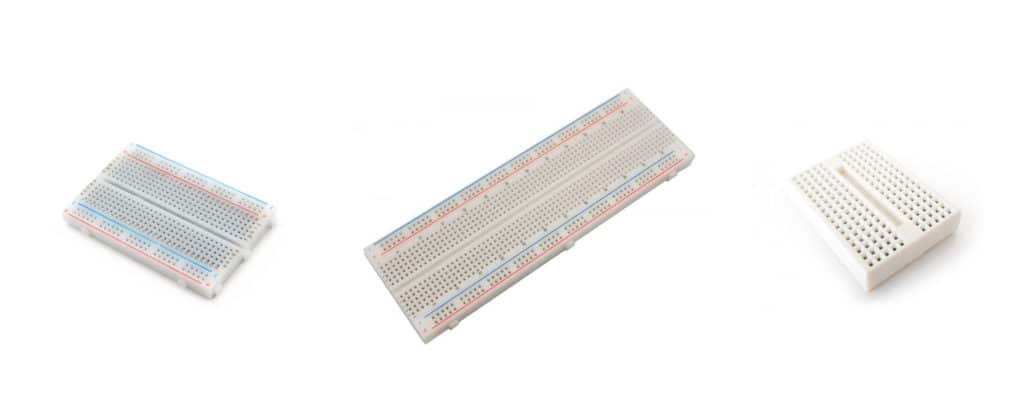
The contact board greatly facilitates the assembly of a prototype electronic circuit, checking its correct operation and, if necessary, its final modifications. With a contact board, we can do without soldering at this stage (prototype, model) and check the components quickly and easily. It is also possible to realize a finished and working circuit only on a contact board, if this is enough to preserve the physical integrity of the device. The pictures show the most popular types and sizes of contact plates available from stores.
5. Contact plate (prototype) 400, 830 and 170 holes
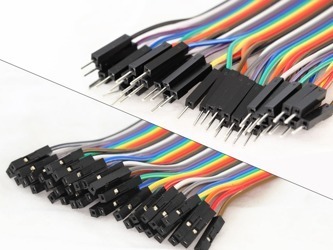
Special cables are used for contact boards, which have corresponding connectors with "spikes". There are three types of such cables: male (with a "spike" on both ends of the cable), female (without the "spike" with indentations at the ends into which male "spikes" can be inserted) and male-female, being a combination of the two previous types, (male on one side, female on the other).
6. Arduino cables, male end (top), female end (bottom)
These cables are used for projects Arduino. In electronics, of course, many types of wires are used, thicker, thinner, braided, in enamel, insulated and uninsulated, etc. When doing so, it should be remembered that the copper-colored cable, which looks as if it is uninsulated, most often has a transparent protective enamel, and before soldering it should be peeled off the end of the cable with a knife, or other sharp tool. A large selection of wires and cables is offered by this website.
That would be the bare minimum electronic equipment, what we need.
4. Less essential but useful items in an electronics technician's workshop.
It will not be a wasted investment to purchase also:
- soldering iron, solder, flux
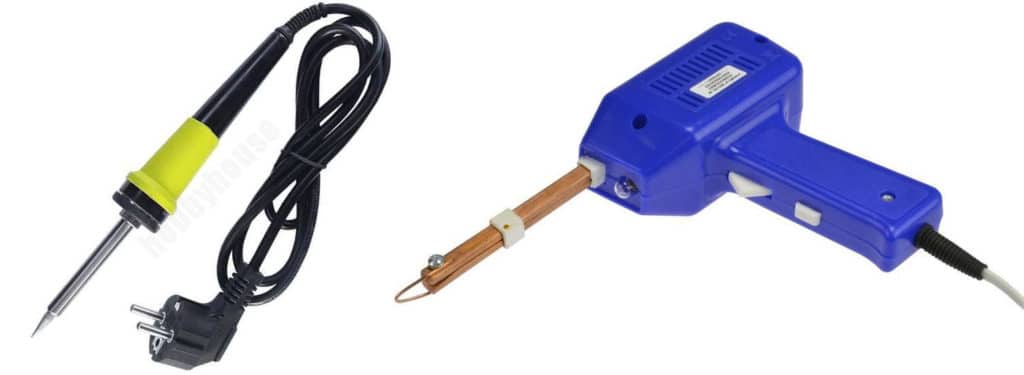
In the long run, I recommend buying a temperature-controlled soldering iron, or soldering station. To begin with, these cheapest soldering irons will suffice (cost approx. 20 zl), pictures of which are below, and are available here.
7. Cob soldering iron (left) and transformer soldering iron (right)
This is a mounting bracket for precision work, most often for soldering. So we have "three hands": in one we hold the soldering iron, in the second solder, and the third holds our board with crocodile clamps. Magnifier will be an aid to our eyes.
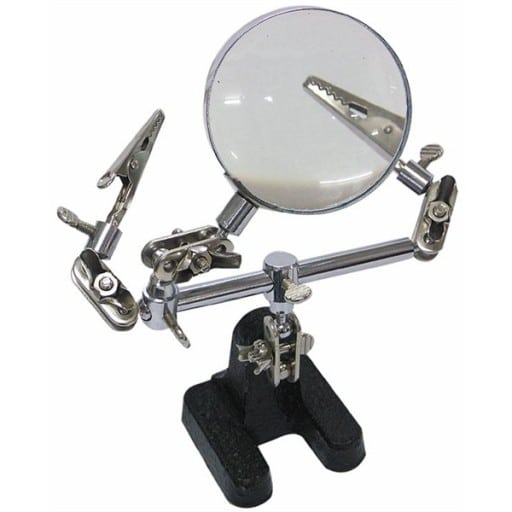
8. "Third hand"
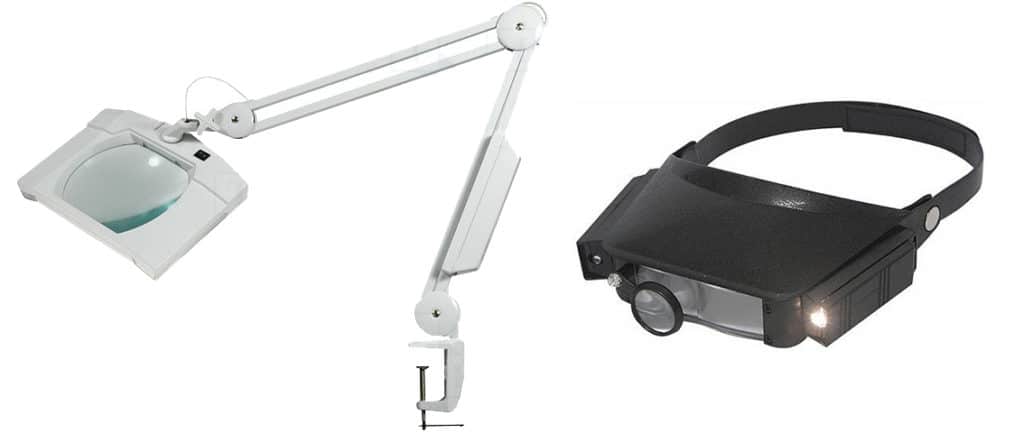
- Table-top, head-mounted magnifier, electronic microscope
It is best to buy a table magnifier, which screws onto the table and does not need to be held by hand while working like a regular magnifier. Or buy head-up magnifier, attached to the head, but this solution has its drawbacks, it can cause some discomfort while wearing it.
A good option is electronic microscope (here) compatible with computer. Such equipment is relatively inexpensive, and for an electronics technician it is useful. Most microscopes on the market have enough resolution for a home workshop.
9. Table magnifier (left) and head magnifier (right)
10. USB electronic microscope
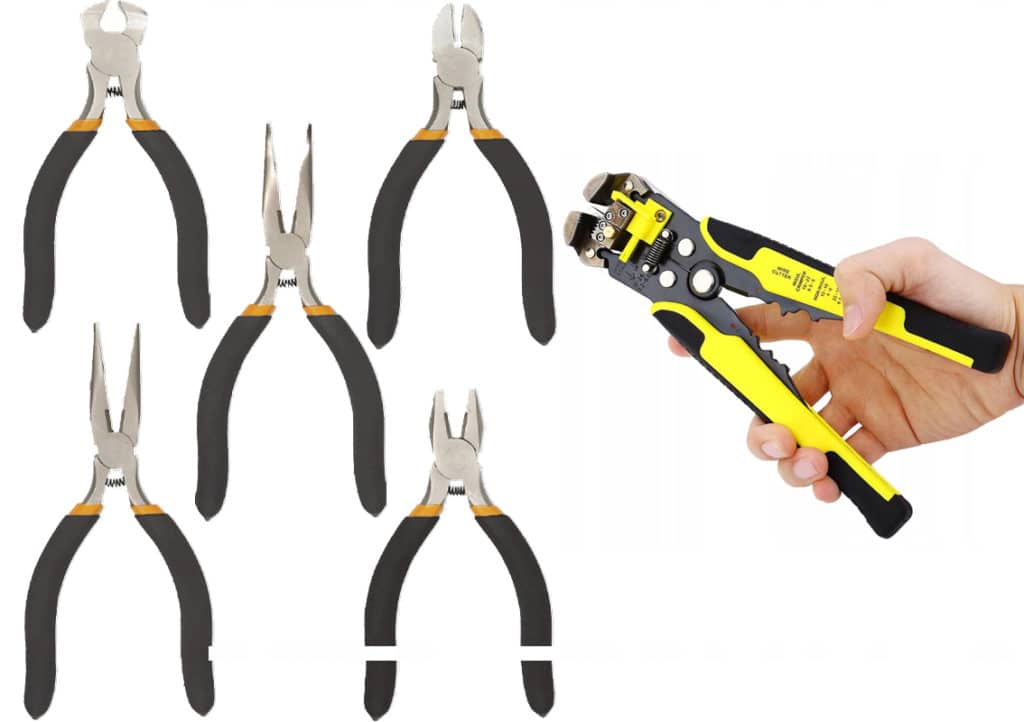
- knives, chisels, precision pliers, screwdrivers, pliers, grippers, etc. Here there is a large selection of such tools.
11. Precision pliers and wire stripper (crimper) (right)
The usual tools from the do-it-yourself workshop, such as hammer, saw, screwdrivers, etc.
Of course, we won't do without our key protagonists either, namely the electronic components themselves, but we'll talk about that in the next part of the course.

