Add products by adding codes
UNO R3 z ATmega328, CH340 – 16 MHz
- UNO R3 z mikrokontrolerem ATmega328P i konwerterem CH340 to w pełni funkcjonalny klon jednej z najpopularniejszych płytek kompatybilnych z AVR i doskonale sprawdza się w projektach mikroprocesorowych – zarówno edukacyjnych, jak i hobbystycznych.
UNO R3 z ATmega328, CH340 – 16 MHz 
Ten mikrokontroler daje ogromne możliwości zastosowania w wielu projektach mikroprocesorowych.
UNO jest idealnym rozwiązaniem dla rozpoczynających zabawę w świecie mikrokontrolerów, jak i elektroniki.
- UNO jest wyposażony w wejścia/wyjścia cyfrowe 6 wyjść PWM oraz 6 wejść analogowych. Dodatkowo obsługuje popularne magistrale takie jak SPI czy I2C, do komunikacji z wieloma czujnikami, wyświetlaczami i innymi urządzeniami i Arduino.
- Na płytce znajdują się również równoległe otwory wszystkich pinów dzięki czemu można w nie wlutować przewody czy też GOLDPIN-y, które dołączone są w zestawie.
- Arduino posiada stabilizator napięcia i osobne wejście DC dzięki czemu można zasilić go napięciem z zasilacza do 12V. Takie rozwiązanie pozwala zasilić mikrokontroler w łatwy sposób i wykonywać zaprogramowane działania w dowolnym miejscu.
- Arduino to posiada wbudowany programator CH340 do którego potrzebny jest dodatkowy sterownik, który znajduje się poniżej!
Parametry modułu UNO R3:
- Moduł posiada:
- mikrokontroler ATmega328 - układ taktowany jest sygnałem zegarowym o częstotliwości 16MHz
- 14 cyfrowych wejść/wyjść
- 6 kanałów PWM - np. do sterowania serwami / silnikami SG-90
- 6 wejść analogowych - 10 bit
- popularne interfejsy komunikacyjne
- złącze USB (sterownik na układzie CH340)
- gniazdo zasilające DC
- przycisk RESET
- wyprowadzenia służące do podłączenia programatora AVR.
- W celu uruchomienia DFRduino, należy połączyć układ z komputerem za pomocą przewodu USB oraz wybrać w środowisku Arduino IDE płytkę Arduino Uno.
- Moduł w większości kompatybilny z shieldami przeznaczonymi dla Duemilanowe oraz Diecimila
- Standardowo w moduł wgrany jest program BLINK LED 13 oraz bootloader
Dane techniczne modułu UNO R3
- Napięcie zasilania: 7 V do 12 V wejście DC jak i pin: VIN
- W pełni kompatybilny z Uno Rev3
- Mikro-kontroler: ATmega328 - napięcie pracy 5V
- Układ kontroli USB: CH340:
- Maksymalna częstotliwość zegara: 16 MHz
- Pamięć SRAM: 2 kB
- Pamięć Flash: 32 kB (5kB zarezerwowane dla bootloadera)
- Pamięć EEPROM: 1 kB
- Wejścia IN-OUT 14 w tym aż 6 PWM
- Wydajność prądowa pojedynczego pinu 40mA
- Ilość wejść analogowych: 6 (kanały przetwornika A/C)
- Interfejsy szeregowe: UART, SPI, I2C
- Zewnętrzne przerwania
- Konektor: gniazdo USB
- Przylutowane złącze ISP
- Wymiary płytki: 75 x 54 x 15 mm
- Rozstaw pinów 2.54 mm (możliwość zamontowania w płytkach stykowych)
W zestawie
- UNO R3 CH340 Atmel ATMega328 16MHz - 1 szt
- Wtyki kołkowe - 1 szt
- Brak przewodu USB A/B w zestawie.
Guide


Wychodzimy poza płytkę, czyli pierwsze peryferia i jak je podłączyć
W poprzednim artykule nauczyliśmy się budowy samej płytki, poruszania się po środowisku i wgraliśmy na Arduino pierwszy program. Dzisiaj przejdziemy do części trochę bardziej zaawansowanej, czyli do pisania programów i podłączenia zewnętrznych elementów. Dzięki wiedzy z tej części będziemy potrafili podłączyć podstawowe zewnętrzne elementy elektroniczne oraz sterować nimi.

Uspołeczniamy Arduino, czyli o czujnikach i komunikacji słów kilka

LED matrix controlled by membrane keyboard
This is my second project on LED matrices, this time the displayed text will be entered using a membrane keyboard. Here we largely use the program from the previous post on LED Matrix with sliding, pre-set text.

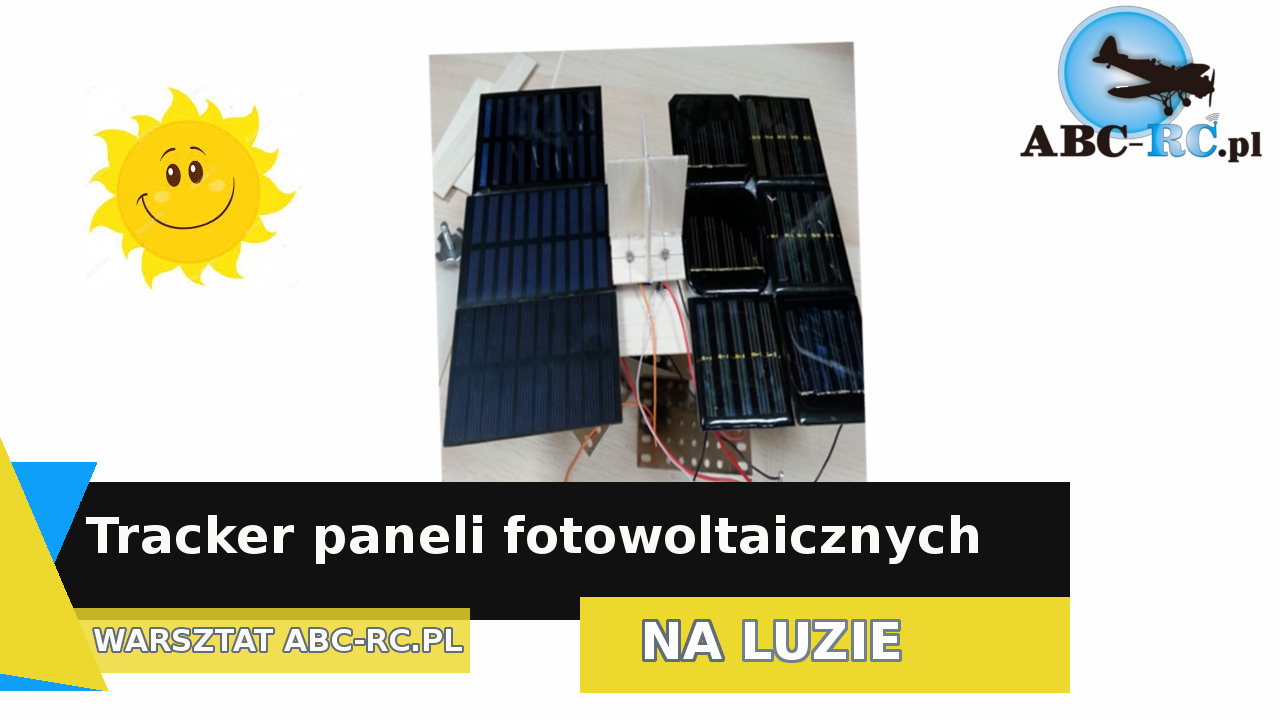
Tracker słońca do paneli fotowoltaicznych - budowa - zasada działania - DIY - ogniwa słoneczne

Kurs Arduino lekcja nr. 2

Licznik w mikrokontrolerze

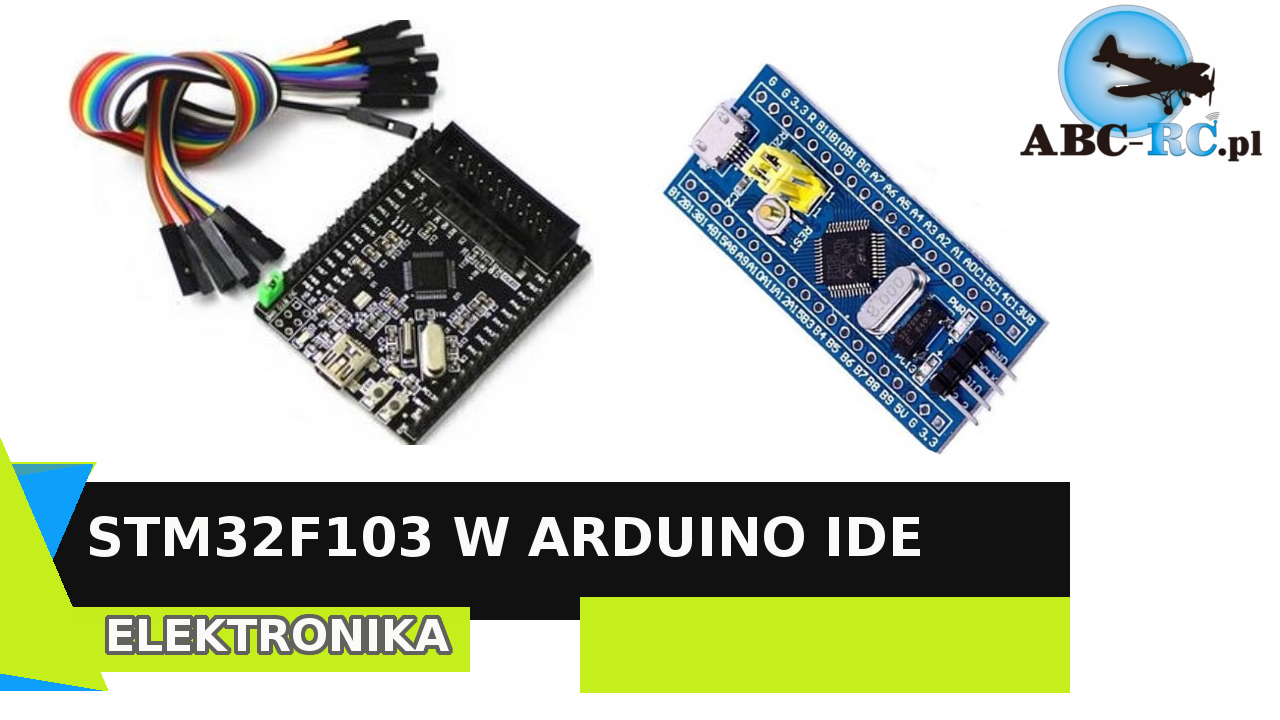
STM32F103 w środowisku Arduino IDE
Witam wszystkich zainteresowanych programowaniem procesorów STM w środowisku Arduino IDE. Zapytacie pewnie dlaczego STM skoro Jest Arduino Uno / MEGA? Otóż mikrokontrolery te są 8 bit-owe co wpływa na całość wykonywanego programu, a więc przy większych projektach ich prędkość i moc obliczeniowa może być niewystarczająca.

Przycisk "tact switch"

Stacja jakości powietrza, pomiar PM10 , PM2,5. Projekt i wykonanie krok po kroku - dla każdego!

Tutorial GSM Neoway M590 / M590E kompendium wiedzy


