Free delivery from $24.83

Add products by adding codes

Add a CSV file
Enter the product codes that you want to add to the basket in bulk (after a comma, with a space or from a new line). Repeating the code many times will add this item as many times as it appears.
UNO XXL-2 Starter Kit - UNO R3 Starter Kit - Arduino Compatible
Bestseller Recommended

UNO XXL-2 Starter Kit - UNO R3 Starter Kit - Arduino Compatible

  • A practical Arduino-compatible starter kit with up to 159 pieces of various components. This is the perfect kit for the Arduino novice. The whole is packed in a plastic box with practical compartments.
SizePrice / setDiscountAvailability and ShippingBuy for pointsQuantity
uniwersalny
$39.24 incl. VAT
List price:
Discount
5set$37.28(-5%)
10set$36.10(-8%)
20set$35.32(-10%)
Product not available, will be soon tj.
Product not available, will be soon tj. 2024-11-12
Buy for points
Sum of selected products:
(Discount %)
0
incl. VAT / 1set
/ 1set
14 days for easy returns
This product is not available in a stationary store
Safe shopping
Deferred Payments. Buy now, pay later, if you don't return it
Buy now, pay later - 4 steps
When choosing a payment method, select PayPo.PayPo - buy now, pay later
PayPo will pay your bill in the store.
On the PayPo website, verify your information and enter your social security number.
After receiving your purchase, you decide what suits you and what doesn't. You can return part or all of your order - then the amount payable to PayPo will also be reduced.
Within 30 days of purchase, you pay PayPo for your purchases at no additional cost. If you wish, you spread your payment over installments.
After paying for this item you will be awarded PTS.

UNO XXL-2- Starter Kit UNO R3 - Compatible with Arduino

A practical Arduino-compatible starter kit with up to 159 pieces of various components. This is the perfect kit for the Arduino novice. The whole is packed in a plastic box with practical compartments.

  • The kit with UNO R3 contains components for creating simple electronic circuits, based on Arduino modules, which allow you to gain valuable knowledge and experience for creating more complex projects in the future.
  • Arduino is an ideal platform to learn programming because the software is a simplified C / C++ language and completely free.
  • In addition, there is a lot of teaching material on the Internet in the form of free video courses on YouTube, a lot of articles and a lot of databases of ready-made projects.

Included

  • UNO R3 - 1 pc.
  • Joystick module - 1 pc.
  • Stepper motor controller - 1 pc.
  • Sound module - 1 pc.
  • SG90 9g servo - 1 pc.
  • LED: 5x RED 5x GREEN 5x YELLOW- 15 pcs.
  • USB Cable- 1 piece.
  • Stepper motor 28BYJ - 1 pc.
  • IR remote control - 1 pc.
  • Active buzzer - 1 pc.
  • Passive buzzer - 1 pc.
  • Resistors (5 values - 20x10K, 20x1K, 10x470Ohm, 20x220Ohm, 10x4.7KOhm)
  • LCD 2, 16 - 1 pc.
  • Real time module- 1 pc.
  • Relay 1 ch. - 1 pc.
  • 10K POTENTIOMETER - 1 pc.
  • Tilt sensor SW-520D - 2 pcs.
  • Fire detector - 1 pc.
  • Water level sensor - 1 pc.
  • 830 field contact board - 1 pc.
  • Photoresistors- 3 pcs.
  • SV1838 infrared receiver - 1 pc.
  • RFiD module with card and key ring - 1 pc.
  • DHT11 hygrometer - 1 pc.
  • Connection jumpers - M-M - 60 pcs.
  • 4-character seven-segment display - 1 pc.
  • 1 character seven-segment display - 1 pc.
  • Buttons - switch - 5 pcs.
  • 74HC595 - 1 pc.
  • RGB LED - 1 pc.
  • Female-to-male wires - 10 pcs.
  • DC cable for 9V battery - 1 piece.
  • LM35 temperature sensor - 1 pc.

Product features

  • Arduino programming learning kit with UNO R3 clone
  • All packed in a practical plastic box with compartments.
  • Everything is included so you can start learning and playing with Arduino
    • Power is taken via USB cable from the computer or through a container of R6 batteries
    • The circuit is mounted on a contact board without the need for soldering
    • We can do a lot of circuits using LEDs, LED displays, infrared remote control, buzzers, etc

Description of UNO R3 Main Board - Arduino Compatible

  • Supply voltage: 7 V to 12 V
  • Fully compatible with Arduino Uno Rev3
  • Microcontroller: ATmega328 - operating voltage 5V
  • Maximum clock frequency: 16 MHz
  • SRAM: 2 kB
  • Flash memory: 32 kB (5kB reserved for bootloader)
  • EEPROM memory: 1 kB
  • IN-OUT inputs 14 including as many as 6 PWMs
  • Current capacity of a single pin 40mA
  • Number of analog inputs: 6 (A/D converter channels)
  • Serial interfaces: UART, SPI, I2C
  • External interrupts
  • Connector: USB socket
  • Soldered ISP connector
  • Plate dimensions: 75 x 54 x 15 mm
  • Pin spacing 2.54mm (can be mounted in contact boards)
  • USB cable included
  • Module fully compatible with Arduino Uno R3. (This means that it can be programmed through the Arduino IDE environment using available libraries.)
  • The module has:
    • aTmega328 microcontroller - the chip is clocked with a 16MHz clock signal
    • 14 digital inputs/outputs
    • 6 PWM channels - e.g. for controlling servos / motors e.g.: SG-90
    • 6 analog inputs
    • popular communication interfaces
    • uSB connector on CH340
    • dC power socket
    • rESET button
    • pins used to connect the AVR programmer.
  • To run the DFRduino, connect the chip to the computer via a USB cable and select the Arduino Uno board in the Arduino IDE environment.
  • module mostly compatible with shields designed for Duemilanowe and Diecimila
  • bLINK LED 13 program and bootloader are preloaded into the module as standard - description http://majsterkowo.en/how-to-start-playing-with-arduino/

Notes on construction and connection

  • Power supply:
    • The module can be powered via a USB cable and an external device, such as an AC adapter, battery or rechargeable battery. Switching of the power source is done automatically. The power supply plugs into a standard DC outlet. The battery or other source is connected to the pins of the POWER connector.
  • Inputs/Outputs
    • Arduino Pro has 14 digital input/output (I/O) leads.
    • Each pin allows a maximum current draw of 40mA, allowing direct connection of LEDs with resistors and control of other ICs.
    • In addition to standard I/O, some leads also have special functions.
  • Programming:
    • Software development and installation is enabled by the free Arduino IDE environment. The implemented bootloader allows the program to be uploaded directly via USB cable.
    • ISCP connector gives you the ability to connect an external AVR programmer. A detailed description can be found in the documentation and tutorial.
    • Through the ISCP connector, the PL2303 Programmer can be used for programming
    • Programmed via USB using Atmega16u2 intermediate microcontroller

Schematic of the board

UNO R3 zestaw

Useful sites

  • USB chip driver - http://www.driverscape.com/download/usb-serial-ch341
  • Software for Arduino - http://arduino.cc/en/Main/Software
  • Eagle program files - http://dlnmh9ip6v2uc.cloudfront.net/datasheets/Dev/Arduino/Boards/RedBoard-v06.zip
  • Software files for Arduino j.english - https://www.arduino.cc/en/Main/Software
  • Programming language documentation - https://www.arduino.cc/reference/en
  • Full description of Arduino UNO boards - https://store.arduino.cc/arduino-uno-rev3
  • Project pages:
    • - https://create.arduino.cc/projecthub
    • - https://howtomechatronics.com/arduino-projects/
    • - https://circuitdigest.com/arduino-projects
    • - https://www.hackster.io/arduino/projects?page=2
    • - https://www.instructables.com/circuits/arduino/projects/

Brand
Symbol
6636
Producer code
5904384745449
Status
New
Manufacturer code
XXL-2
Rodzaj
starter kit
Manufacturer
unbranded
Your previous questions regarding this product
Hello, would you be so kind as to let me know when such a kit will be available?

Hello. Our system is equipped with an option to inform about product availability. It is located under the price, the blue button with the words "Notify availability" you enter your e-mail address to which will come a message as soon as the product appears in the store.

Do you need help? Do you have any questions?Ask a question and we'll respond promptly, publishing the most interesting questions and answers for others.
Ask for this product
If this description is not sufficient, please send us a question to this product. We will reply as soon as possible. Data is processed in accordance with the privacy policy. By submitting data, you accept privacy policy provisions.
Write your opinion
Your score:
5/5
Add a picture:

Guide

5 Projektów Arduino DIY dla Początkujących

5 Projektów Arduino DIY dla Początkujących

Poznaj nasz przewodnik po pięciu fascynujących projektach dla początkujących i zaawansowanych w Arduino. Od stacji pogodowych, przez automatyczne systemy podlewania roślin, alarmy przeciwkradzieżowe, interaktywne gry świetlne LED, po cyfrowe termometry – każdy projekt jest łatwy do wykonania i świetnie wprowadza w świat Arduino. Ten artykuł jest bogaty w praktyczne porady, krok po kroku prowadzi przez proces budowy, a także zawiera listy potrzebnych komponentów i kodów źródłowych. Idealny dla hobbystów, majsterkowiczów i miłośników elektroniki, nasz przewodnik po projektach Arduino jest doskonałym zasobem do nauki podstaw programowania i elektroniki. 
Read more
Gdy brak nam mocy, czyli tranzystory i przekaźniki

Gdy brak nam mocy, czyli tranzystory i przekaźniki

Gdy nauczymy się sterować pinami cyfrowymi, oraz potrafimy już podłączać elementy takie jak diody. Czy też przyciski, w końcu przyjdzie moment, kiedy będziemy chcieli sterować urządzeniami takimi jak telewizor, czy też lampa. Jak wiemy stoją nam na przeszkodzie możliwości naszego Arduino, które pracuje na logice 5V, a z jednego pinu jest w stanie podać maksymalnie 50mA.
Read more
Wychodzimy poza płytkę, czyli pierwsze peryferia i jak je podłączyć

Wychodzimy poza płytkę, czyli pierwsze peryferia i jak je podłączyć

W poprzednim artykule nauczyliśmy się budowy samej płytki, poruszania się po środowisku i wgraliśmy na Arduino pierwszy program. Dzisiaj przejdziemy do części trochę bardziej zaawansowanej, czyli do pisania programów i podłączenia zewnętrznych elementów. Dzięki wiedzy z tej części będziemy potrafili podłączyć podstawowe zewnętrzne elementy elektroniczne oraz sterować nimi.

Read more
Podstawy podstaw, czyli co to jest Arduino i z czym to się je.
Podstawy podstaw, czyli co to jest Arduino i z czym to się je.

Myślałeś kiedyś o budowie robota, systemu inteligentnego domu, czy też stacji meteorologicznej? Jeśli nie jesteś doświadczonym elektronikiem, oraz programistą w jednym Arduino będzie dla Ciebie idealną platformą, prostota działania całego środowiska, prosty i przyjemny język programowania oraz łatwość w budowaniu własnych urządzeń to tylko kilka z wielu zalet platformy Arduino.
Read more
STM32F103 w środowisku Arduino IDE

STM32F103 w środowisku Arduino IDE

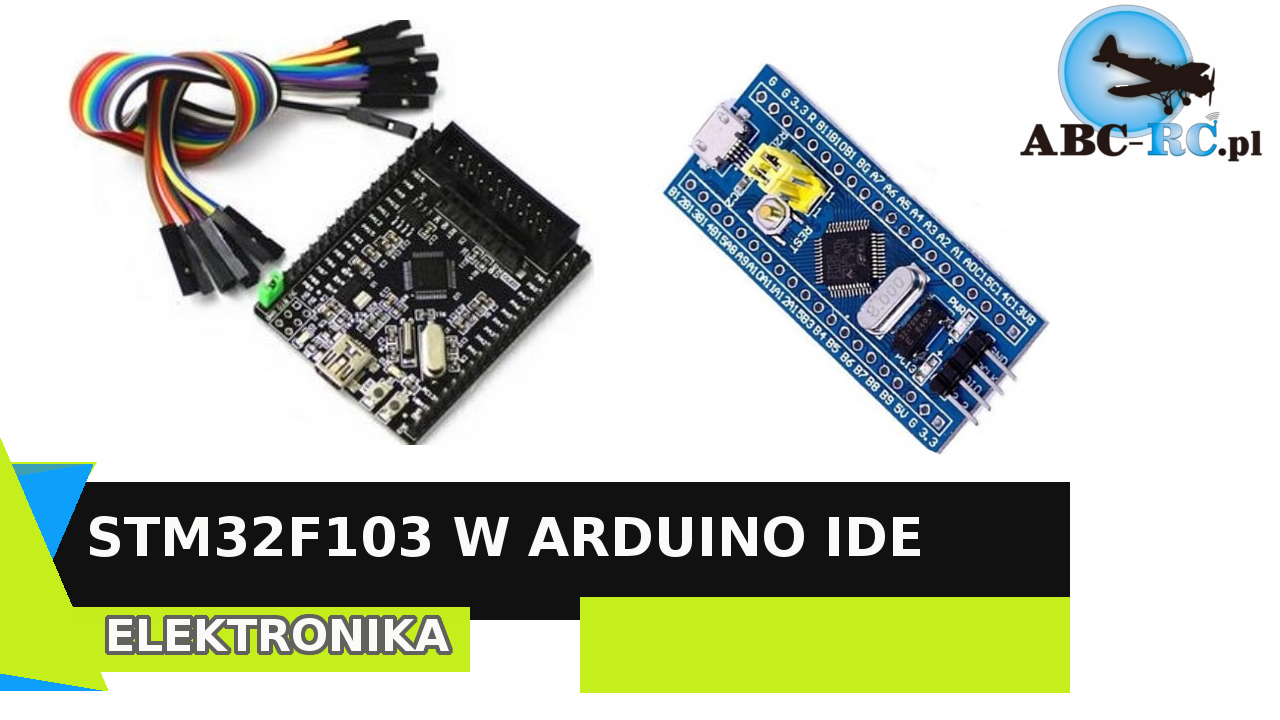
Witam wszystkich zainteresowanych programowaniem procesorów  STM w środowisku Arduino IDE. Zapytacie pewnie dlaczego STM skoro Jest Arduino Uno / MEGA? Otóż mikrokontrolery te są 8 bit-owe co wpływa na całość wykonywanego programu, a więc przy większych projektach ich prędkość i moc obliczeniowa może być niewystarczająca.

Read more
IdoSell Trusted Reviews
4.90 / 5.00 1947 reviews
IdoSell Trusted Reviews
2024-11-04
towaru jeszcze nie montowałem , myślę że będzie ok , obsługa i tempo realizacji , na medal , polecam
2024-11-04
Wszystko zgodnie z zamówieniem.
pixelpixel