Add products by adding codes
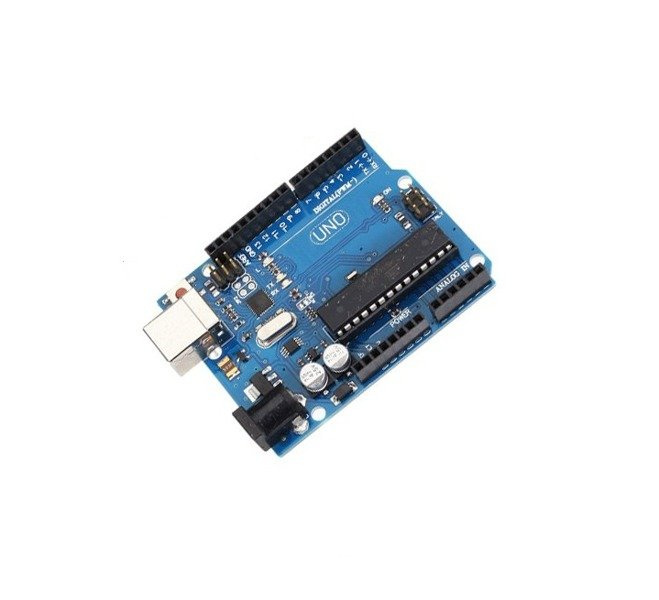
UNO R3 - Atmel ATMega328 16MHz - AVR clone - compatible with Arduino
- Offered Atmel's UNO R3 is the most popular module on the market compatible with web design.arduino.cc with ATmega328P. Can be used in many microprocessor projects.
UNO R3 Atmel ATMega328 16MHz - AVR clone - Arduino compatible - Shop ABC-RC

Offered Atmel's UNO R3 is the most popular module on the market compatible with web design.arduino.cc with ATmega328P.
UNO R3 has the ability to be used in many microprocessor projects.
Arduino is an open source platform based on hardware and software solutions that are simple to use.
Arduino boards, with the help of connected sensors and modules, read various information from the environment such as turning on a light, pressing a button, reading the temperature or more advanced ones like reading a message on a computer. This information can be a sign for Arduino to turn on a motor, LED lights or publish something on the web. These features give the Arduino incredible capabilities with many applications that are limited almost only by our imagination.
UNO R3 Features
- Module fully compatible with Arduino Uno R3. This means that it can be programmed through the Arduino IDE environment using available libraries.
- The module has:
- aTmega328 microcontroller - the chip is clocked with a 16MHz clock signal
- 14 digital inputs/outputs
- 6 PWM channels - e.g. for controlling servos / motors
- 6 analog inputs
- popular communication interfaces
- uSB connector
- dC power socket
- rESET button
- pins used to connect the AVR programmer
- To run the DFRduino, connect the chip to the computer via a USB cable and select the Arduino Uno board in the Arduino IDE environment.
- Module mostly compatible with shields designed for Duemilanowe and Diecimila
- The BLINK LED 13 program and bootloader are preloaded into the module as standard
Technical data
- Supply voltage: 7 V to 12 V
- Fully compatible with Uno Rev3
- Microcontroller: ATmega328 - operating voltage 5V
- Maximum clock frequency: 16 MHz
- SRAM: 2 kB
- Flash memory: 32 kB 5kB reserved for bootloader
- EEPROM memory: 1 kB
- IN-OUT inputs 14 including as many as 6 PWMs
- Current capacity of a single pin 40mA
- Number of analog inputs: 6 channels of A/D converter
- Serial interfaces: UART, SPI, I2C
- External interrupts
- Connector: USB socket
- Soldered ISP connector
- Plate dimensions: 75 x 54 x 15 mm
- Pin spacing 2.54mm possibility to install in contact boards
Notes on construction and connection
- Power supply:
- The module can be powered via a USB cable and an external device, such as an AC adapter, battery or rechargeable battery.
- Switching of the power source is done automatically.
- The power supply plugs into a standard DC outlet.
- The battery or other source is connected to the pins of the POWER connector.
- Inputs/Outputs:
- Arduino Pro has 14 digital input/output (I/O) leads.
- Each pin allows a maximum current draw of 40mA, allowing direct connection of LEDs with resistors and control of other ICs.
- In addition to standard I/O, some leads also have special functions.
- 6 analog inputs are used to measure voltage (up to 5V!). They can also serve as further digital pins and in that case you get additional digital pins.
- Programming:
- ISCP connector gives you the ability to connect an external AVR programmer. A detailed description can be found in the documentation and tutorial.
- Through the ISCP connector, the following can be used for programming PL2303 Programmer
- Programmed via USB using Atmega16u2 intermediate microcontroller
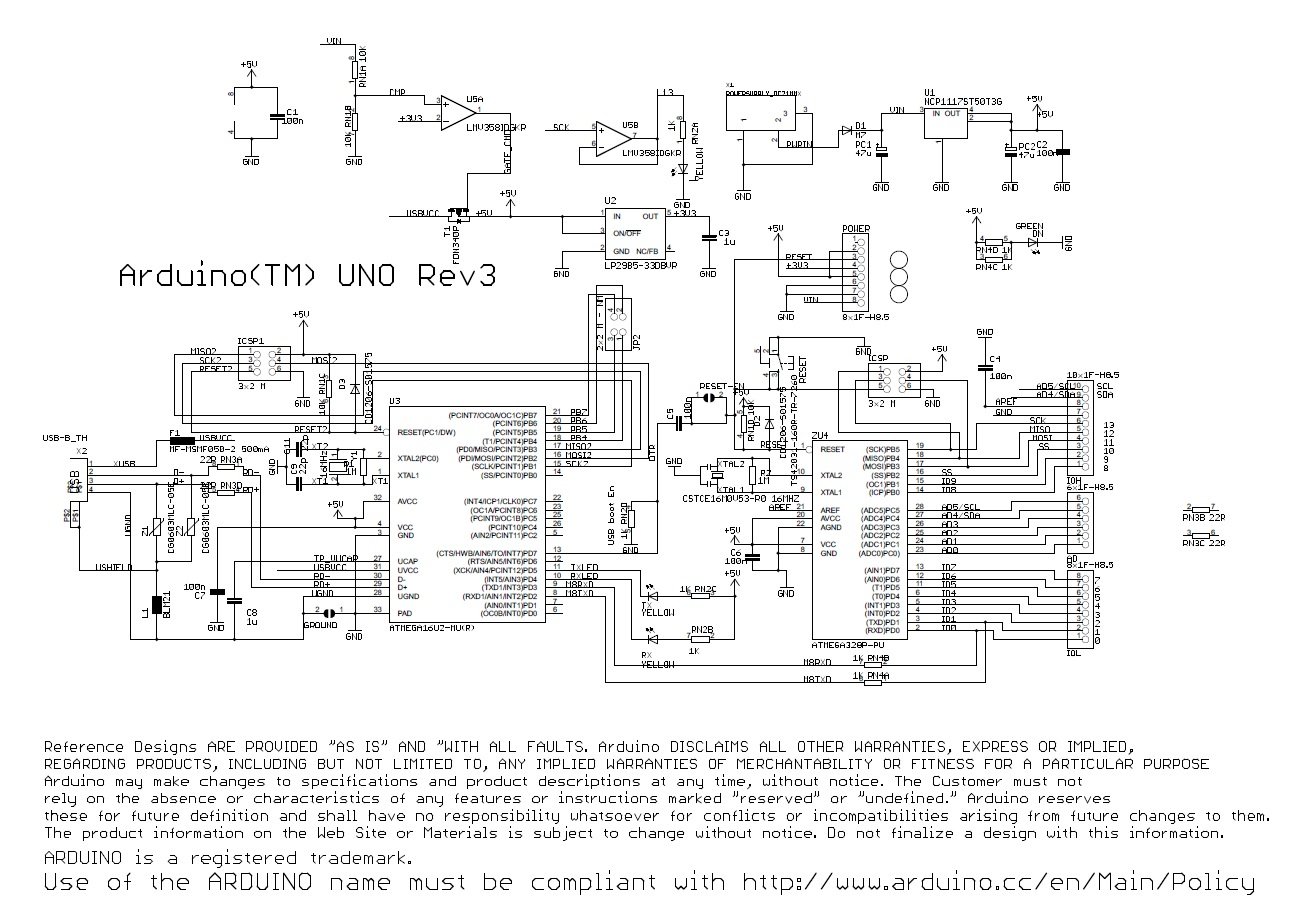
UNO R3 board schematic

Video materials
Additional information
Who the UNO R3 board is for?
The UNO R3 board is primarily ideal for beginners who want to get started with projects. With it you will build almost any device without a soldering iron.
By combining the UNO R3 and appropriate sensors such as temperature, sound or distance, we can build projects that are limited only by our imagination.
Programming, despite appearances, is not difficult.
The language in which we code projects requires learning no small number of rules.
Arduino is part of the Open Hardware community, one of whose main goals is to involve users in sharing knowledge and their projects. This gives you access to virtually unlimited resources, information and ideas that you can use.
Many of the tutorials are in English, but Arduino is becoming more and more popular in Poland every year, so you should have no problem finding relevant tutorials in Polish.
UNO R3 Description
- Thanks to the USB output, you will connect to your computer to upload relevant programs.
- POWER socket - you can use it to power the board without connecting it to a computer.
- LED ON light
- The ON LED tells us that the Arduino is working and has power connected.
- RESET button is responsible for interrupting the current operation and starting the program from the beginning.
- POWER pins are used to provide voltage to the controlled circuit. You can choose between 3.3V and 5V. GND is ground - "minus".
- LED L - This LED is connected to digital pin number 13 on the Arduino UNO R3 board.
Guide


Wychodzimy poza płytkę, czyli pierwsze peryferia i jak je podłączyć
W poprzednim artykule nauczyliśmy się budowy samej płytki, poruszania się po środowisku i wgraliśmy na Arduino pierwszy program. Dzisiaj przejdziemy do części trochę bardziej zaawansowanej, czyli do pisania programów i podłączenia zewnętrznych elementów. Dzięki wiedzy z tej części będziemy potrafili podłączyć podstawowe zewnętrzne elementy elektroniczne oraz sterować nimi.

Uspołeczniamy Arduino, czyli o czujnikach i komunikacji słów kilka

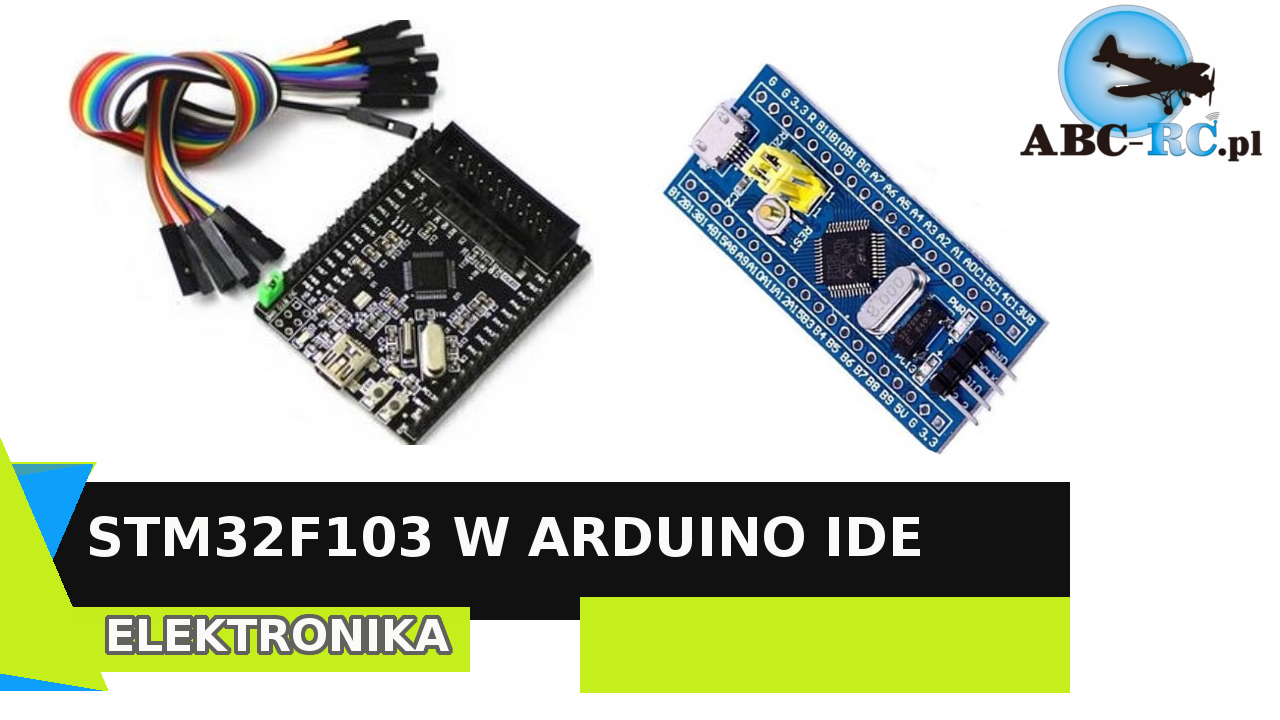
STM32F103 w środowisku Arduino IDE
Witam wszystkich zainteresowanych programowaniem procesorów STM w środowisku Arduino IDE. Zapytacie pewnie dlaczego STM skoro Jest Arduino Uno / MEGA? Otóż mikrokontrolery te są 8 bit-owe co wpływa na całość wykonywanego programu, a więc przy większych projektach ich prędkość i moc obliczeniowa może być niewystarczająca.

Tutorial GSM Neoway M590 / M590E kompendium wiedzy

Tutorial GSM NEOWAY M590E kompendium wiedzy, lektura obowiązkowa dla posiadaczy i przyszłych nabywców!


